Configuring Site Table Plans
Table plans are used on the PoS to represent either the table layout, or a range of tabs, that can be configured for ringing sales through.
To configure your site table plan:
-
Select the button for Site Table Plans from the main Theme Modelling menu.
-
Click the Add button to create a new table plan, and enter the name of the table plan and any relevant description that is required.
-
Click the Design button, which displays the main table plan screen (which will currently be blank, or populated with existing tables).
-
Right-click on the screen to add the first table
-
On the menu, select the option for either a square, diamond or round table. It is also possible to add a text label.
-
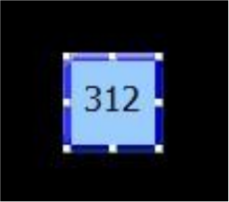
Enter the required Table Number and click the OK button. Use the toggle anchors to resize the table buttons.
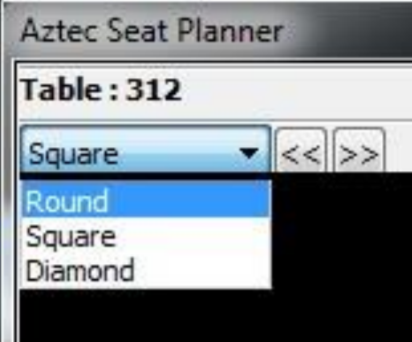
- If required, change the shape of the table by double clicking the table and on the Seat Planner window use the drop down to change the shape.
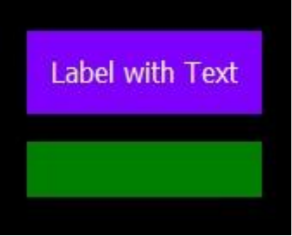
- Text labels can be added to a table plan to add either text info, or solid colour blocks to make visual representations of the building.
- If you want to add a label, right-click on the screen and choose New Label,
- The words “New Label” will appear in the table plan.
- Double click this new label to edit it.
- Edit the text required for the label (if no text is required, delete out the entire text)
- If per seat ordering is being used, seats should be added to tables. To do this, double click the table to display the Seat Planner window. Around the table will be coloured boxes - simply double click in each box to add a seat
- Click the Save Table Plan button followed by the Close button.
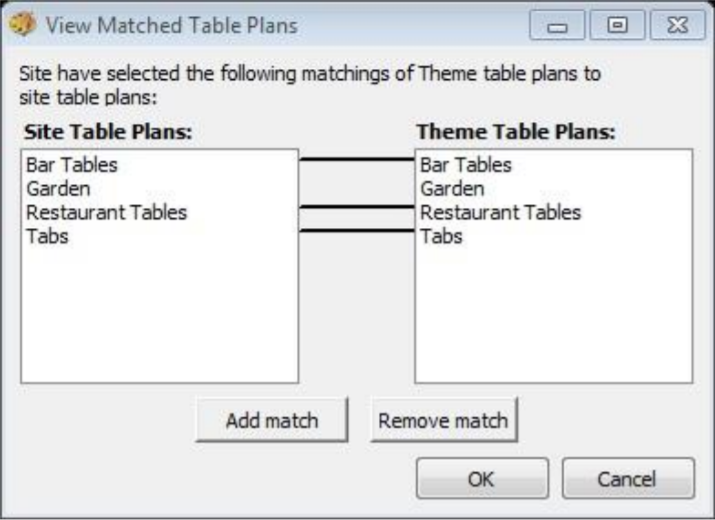
- Navigate back to the Theme Modelling main menu, and click the Match Table Plans button.
- Click the Site Table Plan name on the left and then click the Theme Table Plan name on the right.
- Click the Add Match button which will link the two sides together
- Finally, click the OK button to complete the setup
Table numbers must be unique across the entire system
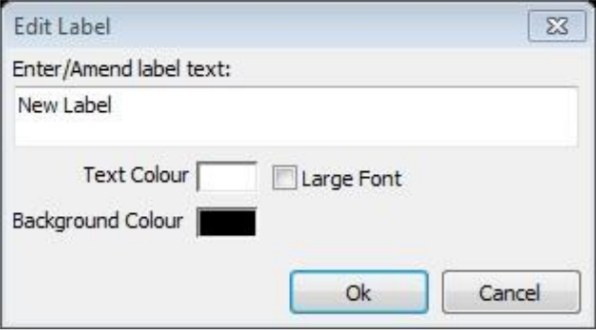
The background and text colours can be changed as needed; for objects such as walls, make the two colours the same, as this will then make one combined, solid colour box.
To remove a seat from the plan, click and drag the seat out of the coloured box and into the outside black area.
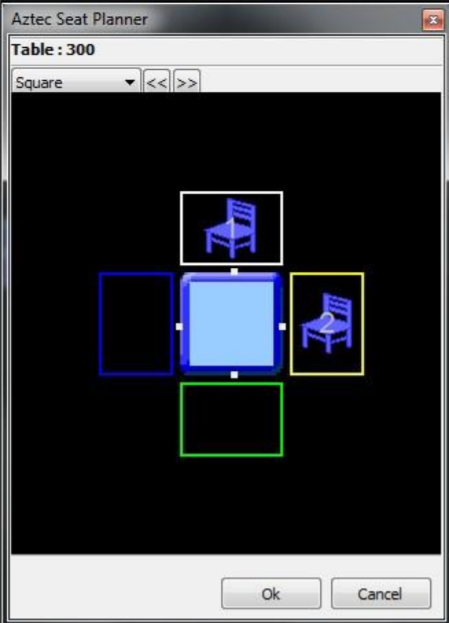
Table plans should be matched so that the table plan button will appear on the PoS theme design